When I first tried Compressor.io I was shocked. How can they reduce an image’s file size by hundreds of kilobytes or more without downscaling the image and no noticeable loss in quality? Although it’s a cool, free tool, it bothered me that, because I didn’t know how to do this myself, I was depending on a “cloud” service to do it for me. Surely that web service is just a snazzy front end for the free, libre, open-source tools we all know and love?
I was pretty sure the answers lay in GraphicsMagick / ImageMagick, but with which options? What was the magic invocation that would produce the same result?
TL;DR: Strip EXIF data, interlace, convert to 80% quality, and scale to ~50% of original image dimensions.
It’s Easy!
After a bit of Google-fu I learned that this is easier than I had originally thought. For example, take this picture of me eating a piece of halloumi cheese:
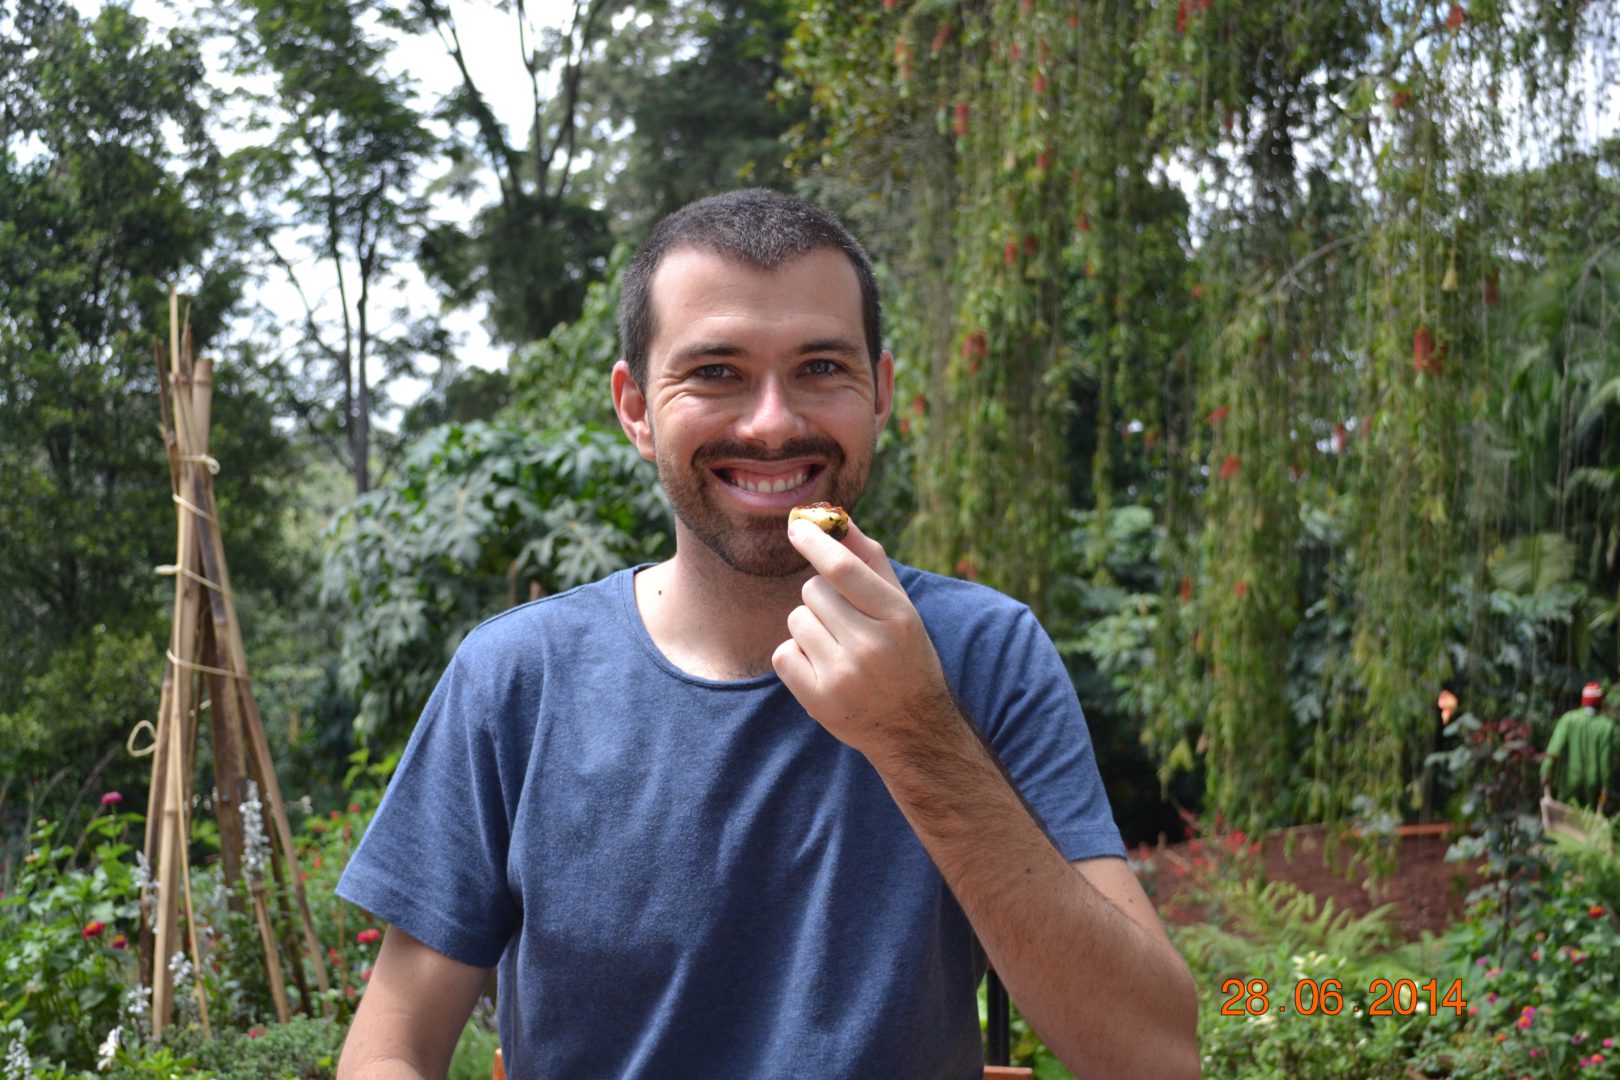
Straight from the fancy DSLR camera the image is 3.6 megabytes — much too large to share practically on the web. Amazingly, after uploading to Compressor.io the image is reduced to 1.6 megabytes. That’s an impressive feat considering the image wasn’t down scaled and is visually indistinguishable from the original!
As it turns out, it’s actually pretty easy to achieve this level of savings:
$ jpegtran -copy none -progressive -outfile DSC_0685-trimmed.JPG DSC_0685.JPG
$ gm mogrify DSC_0685-trimmed.JPG -quality 80
The result is actually better than Compressor.io:
$ ls -lht DSC_0685*
-rw-r--r-- 1 aorth staff 1.4M Oct 14 21:52 DSC_0685-trimmed.JPG
-rw-r--r-- 1 aorth staff 1.6M Oct 14 20:47 DSC_0685-compressor.jpg
-rw-r--r-- 1 aorth staff 3.6M Jun 28 11:21 DSC_0685.JPG
The first operation (jpegtran) is “lossless.” That is, it doesn’t change the image data itself, instead optimizing the image’s compression algorithm and stripping the EXIF data, and converts to progressive JPEGs. EXIF data, like GPS coordinates, exposure length, ISO, etc are useful to the photographer or image manipulation software, but not essential when uploading to the web.
The second operation (GraphicsMagick) is “lossy” because it reduces the image to 80% quality. GraphicsMagick’s mogrify command is very similar to the convert command, but it edits files in place (so be careful!).
Extra Points
Even though the file size has reduced by an amazing 60%, the image is actually still pretty massive — both in terms of file size as well as dimensions. At 4608×3072 pixels (14MP), the image is still too large for the average computer, tablet, or phone to consume practically. Keep in mind that, in 2014, most high-end smart phones have a resolution of “only” 1920×1080 pixels!
Given that high-end smart phones literally can’t even fit more than 50% of this image on the screen, it’s safe to assume that we can scale down the dimensions by a factor of at least 50% without sacrificing too much… I’ll sympathize with the bandwidth deprived and go for 40%:
$ gm convert DSC_0685-trimmed.JPG -resize 40% -quality 80 -interlace Line DSC_0685-trimmed-scaled.JPGAfter this the file is a mere 357 kilobytes, yet still nearly indistinguishable from the original!
This command is a bit of a mystery to me, though. For some reason, in this particular invocation, convert yields a smaller file size than mogrify, even with the same exact options. Also, even though we converted to progressive with jpegtran earlier, doing it again here seems to have a substantial effect on the resulting file size (12k in this example). Oh well, I suppose you can’t understand everything all at once. 😉
Great Success!
So there you have it, now you get that Compressor.io-like effect from the safety of your own home, with free, libre, open-source software!